ULTIMATE Guide to Your
SEINT Makeup

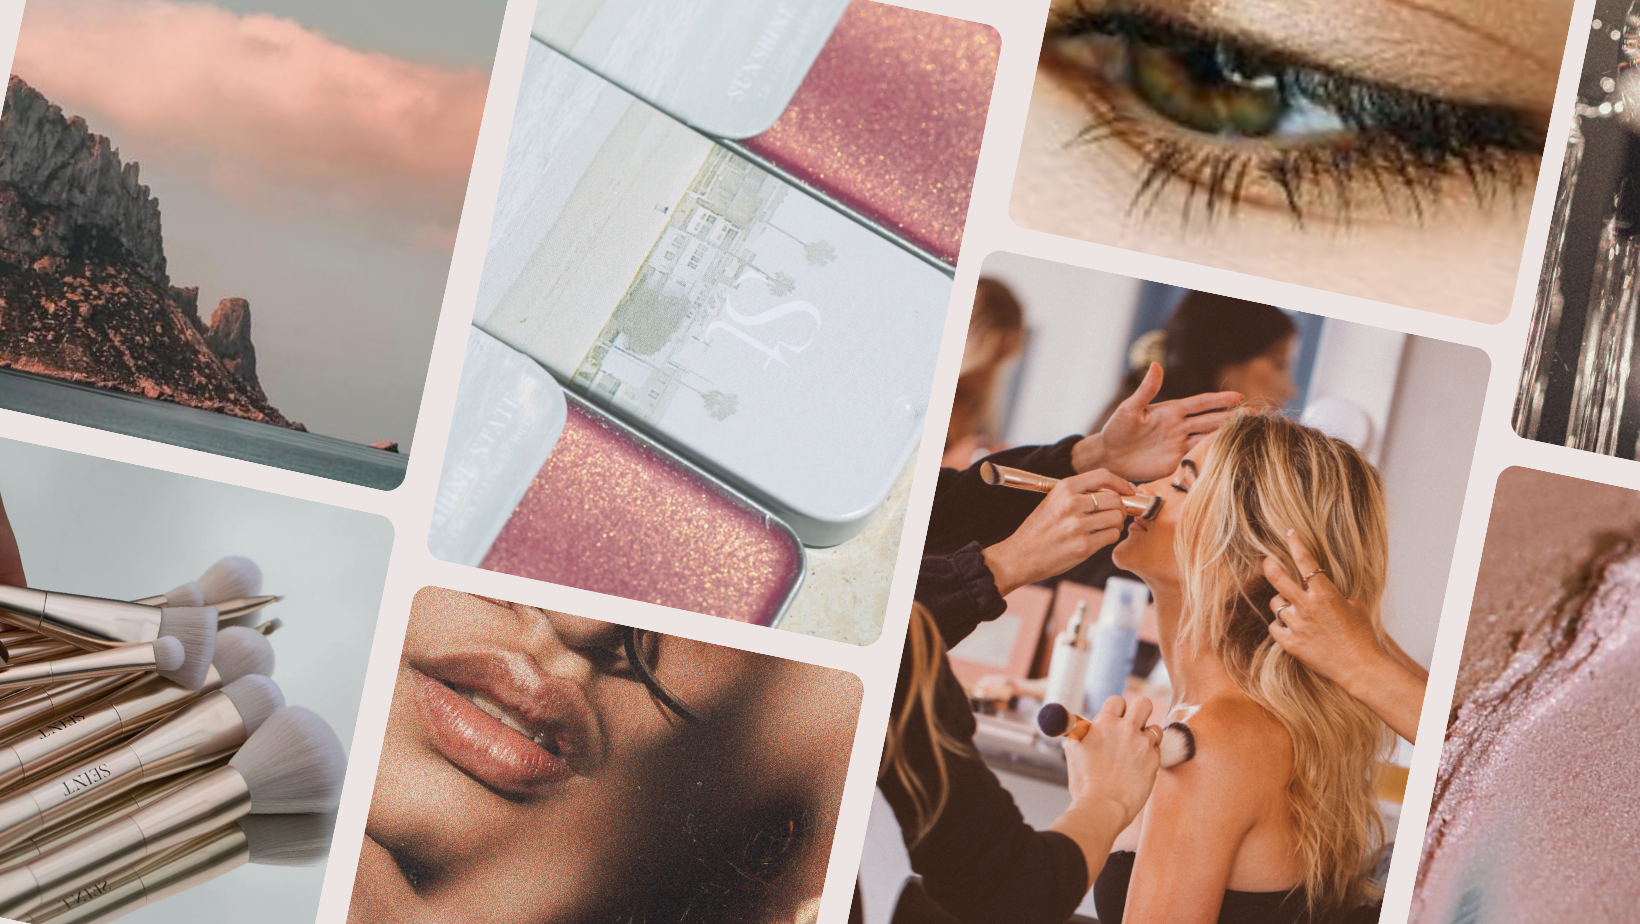
Applying Your Seint Makeup
Step 1:
Let's set up your compact!
There is no one right way to set up your palette but below is a common setup based on the pallet 12. The only suggestion we would offer is to separate your creams and powders on different levels when possible.


Step 2:
Let's play makeup!
It's best to watch the video below when first applying your makeup. This process will speed up that learning curve and soon you will be a master.


Step 3:
Eye Makeup Tips
It's best to watch the video below when first applying your makeup. This process will speed up that learning curve and soon you will be a master.
Troubleshooting TIPS
-
If you have used a liquid or powder foundation for a while, it may take your skin a week or two to adjust to the creams. Your skin may feel a little sticky for a bit or extra shiny but I promise once your skin adjusts it will feel just like a second skin! You can use a little setting powder while it adjusts.
-
Moisturizing your skin is really important. With a cream foundation, you do not need to moisturize right before application like you would before using a liquid foundation. If you feel like you need to moisturize in the morning, make sure that you let your moisturizer soak into your skin or your cream will slide around/off of your face.
-
Less is more!! I can’t say it enough. Your highlight tin should last around 2-4 months. If you are going through a lot, we may also need to get you a darker shade. If you touch your skin and it feels tacky, you have too much product on your skin.
-
Setting Sprays works wonders! We also have a powder that fits into your palette called Vanilla Dust. You can use on your oily areas. Or you can even try “baking” your powder. Use a spooly end brush (like our Line brush) to brush up your Vanilla Dust powder to a looser consistency and let it sit on your face for about 5 minutes and then brush it off.
-
Try exfoliating and moisturizing your skin at night and try applying your HAC the next day. If it is still flaky or patchy, it may be an indicator you need a different shade or we can talk about our awesome skincare line.
-
Go darker, not lighter. To cover pink or red, use brown (Aspen contour) or green (June highlight). To cover blue, use orange (Mango highlight). You won’t get rid of texture, but you can hide those pigments. If you want lighter coverage, ask your artist about our awesome Demi Correctors
-
You can use more than one highlight. The creams are effortlessly blendable so it is very easy to achieve a polished look using different shades.
-
Use our Blush + Bronzer Brush dry, or Perfector Sponge after getting it damp with water, and then use it to PRESS your makeup into your skin. This technique also removes any excess product.
-
Use a darker contour if you feel like you can’t see your contour after a few hours. The same rule applies to blush.
-
If your contour looks dirty, it is the wrong contour color for your skin. It should not settle into your pores or seem hard to blend in.
-
Clean your brushes once a week with Brush Cleanser to avoid any breakouts from using dirty brushes and also to avoid picking up or depositing too much product. Sanitize your tins with alcohol spray every so often. The denser the brush's bristles, the more product it will pick up. If you have a heavy hand, use a bigger brush like the Blush + Bronzer for more of an airbrushed finish.